Why Installing Attic Baffles from the Outside Makes Sense
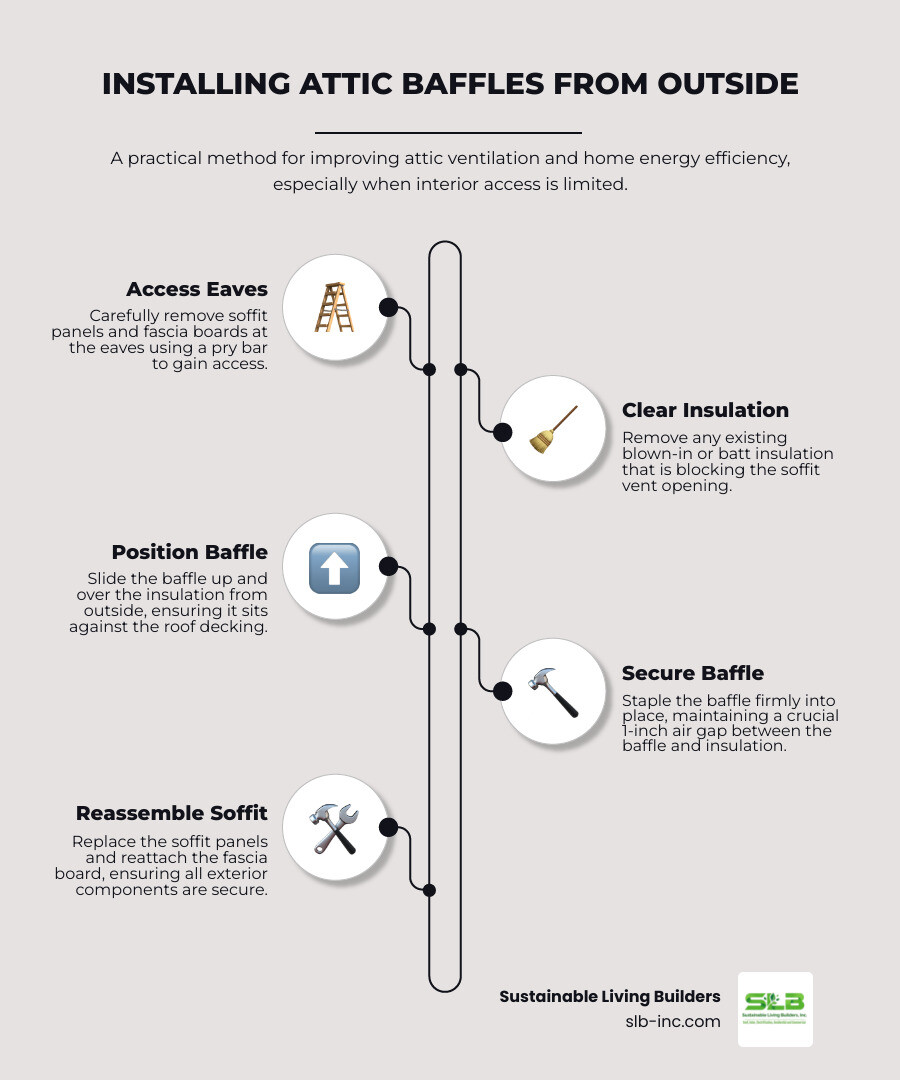
Installing attic baffles from outside is a practical method when your attic is already insulated or has limited crawl space. This approach involves removing soffit panels and fascia boards to slide baffles into place from the eaves, ensuring proper airflow without disturbing existing insulation.
Quick Overview: Installing Attic Baffles from Outside
- Remove soffit panels and fascia boards at the eaves using a pry bar
- Clear any insulation blocking the soffit vent opening
- Slide the baffle up and over the insulation from outside, securing it to the roof decking
- Staple the baffle into place, ensuring a 1-inch air gap between insulation and roof deck
- Replace all exterior components (soffit panels, fascia boards)
If you’ve noticed moisture issues, high energy bills, or ice dams forming on your roof, your attic ventilation system might be failing. Attic baffles—also called rafter vents—create essential airflow channels that prevent insulation from blocking soffit vents. Without them, trapped moisture can lead to mold growth, rotted roof decking, and compromised insulation effectiveness.
For homeowners committed to Sustainable Living Starts at Home, proper attic ventilation is foundational. If you’re ready to improve your home’s energy performance, our professional Insulations services can help.
The exterior installation method works particularly well for retrofit situations where blown-in insulation already fills your attic or where tight spaces make interior access dangerous. While contractors typically install baffles during new construction, it’s never too late to add them to an existing home.
Why Baffles are a Non-Negotiable for a Healthy Attic
Think of attic baffles as the unsung heroes of your home’s respiratory system. Also called rafter vents or insulation baffles, these simple chutes create dedicated airflow channels that guide fresh air from your soffit vents up into the attic space. Without them, your carefully installed insulation becomes the very thing blocking the air your attic desperately needs to breathe.
Here’s what happens when baffles are missing: insulation migrates toward the eaves, plugging up those soffit vents like a cork in a bottle. Suddenly, hot and humid air gets trapped inside with nowhere to go. That’s when the trouble starts.
The stakes are higher than you might think. Trapped moisture creates the perfect breeding ground for mold and mildew, which can weaken your rafters and roof decking over time. In our Northern California climate, where temperatures swing throughout the year, you might also face ice dams—those frustrating ridges of ice that form when escaping heat melts roof snow, only to have it refreeze at the colder eaves. The damage to your roof and gutters can be significant.
But baffles do more than prevent disasters. They’re essential for protecting your home’s structural integrity by keeping wooden components dry and rot-free. They also ensure your insulation performs at peak efficiency—because even the best sustainable insulation can’t do its job when it’s compressed against a vent opening or soaked with moisture.
Baffles work as the intake side of a balanced ventilation system, partnering with exhaust vents like ridge vents to create continuous airflow. Cool air enters through the soffits, travels along the baffle channels, and warm, moist air exits through the ridge. This natural convection keeps your attic temperature stable and moisture under control. Learn more about how ridge vents benefit this balanced system.
Choosing the right baffle material matters for long-term performance. You’ll typically encounter three options:
| Baffle Type | Characteristics |
|---|---|
| Cardboard | The budget-friendly choice that gets the job done. Cardboard baffles can absorb some moisture, though they may lose rigidity over time in high-humidity conditions. Best for dry climates or well-ventilated attics. |
| Foam | Rigid foam baffles maintain their shape beautifully and resist moisture damage. They create consistent air channels and effectively hold back insulation from soffit vents—a reliable middle-ground option. |
| Plastic | Made from durable polyvinyl chloride or high-impact polystyrene, plastic baffles are the marathon runners of the bunch. They’re highly resistant to moisture and degradation, adapt to various rafter bay sizes, and will likely outlast everything around them. |
Whether you’re installing attic baffles from outside during a retrofit or adding them to new construction, these modest components deliver outsized benefits. They’re the difference between an attic that quietly protects your home and one that slowly undermines it. For homeowners committed to energy efficiency and long-term home health, baffles aren’t optional—they’re foundational. You can purchase quality attic baffles to get started on this essential upgrade.
Gearing Up: Your Pre-Installation Checklist
Before we start installing attic baffles from outside, let’s talk about preparation. Trust me, taking the time to gather everything you need and assess your specific situation will make this project so much smoother—and safer.

Getting Your Tools and Materials Together
First, you’ll need the star of the show: the baffles themselves. You can buy an attic baffle at most home improvement stores. They typically come in 4-foot lengths and are available in foam, plastic, or sturdy cardboard. The width you need depends on your rafter spacing—we’ll measure that in just a moment.
For securing those baffles to your roof decking, grab a staple gun and staples. You’ll also need a pry bar for carefully removing fascia boards and soffit panels without damaging them. A hammer comes in handy for any nails or fasteners, and a utility knife or heavy-duty scissors lets you trim baffles to fit perfectly.
Don’t forget your measuring tape—accuracy matters here. While optional, a caulk gun and spray foam are worth having for air sealing around the top plate and small gaps. Some folks also like to keep rigid foam board on hand for custom blockers in unusual rafter configurations.
Safety First—No Exceptions
Working at height on a ladder isn’t the time to cut corners on safety. A sturdy extension ladder rated for your weight plus tools is essential. Make sure it’s on stable, level ground, and follow basic ladder safety rules—three points of contact, don’t overreach, you know the drill.
Protect yourself with work gloves to guard against splinters and sharp edges. Safety goggles or glasses shield your eyes from dust and debris that will definitely be flying around. A dust mask or respirator is critical—attics can harbor old insulation fibers and potential mold spores that you don’t want in your lungs.
Finally, wear long-sleeved shirts and pants or coveralls to minimize skin exposure to insulation. It’s itchy stuff, and you’ll thank yourself later.
Taking Stock Before You Start
Now for the assessment part. First, measure your rafter spacing carefully. Most homes have rafters either 16 or 24 inches on center, which means you’ll need baffles that are 14.5 or 22.5 inches wide respectively. Knowing this before you shop saves a return trip to the store.
Take a good look at your soffit vents. Are they there? Are they clear? If your home doesn’t have soffit vents, baffles won’t help much—they need those intake vents to function. Also check the condition of your fascia boards and soffit panels. Since you’ll be removing these during installation, spotting rot or damage now means you can plan for repairs.
If you can safely peek inside your attic, do it. Note whether you have blown-in insulation (which tends to drift and block vents) or batt insulation. This gives you a preview of what you’re working with. For a more comprehensive look at your roof’s overall health, check out What to Expect During a Roof Inspection: A Homeowner’s Checklist.
With everything gathered and assessed, you’re ready to tackle this project with confidence.
Your Guide to Installing Attic Baffles from Outside
Now that we’re fully prepared, let’s walk through the step-by-step process of installing attic baffles from outside. This is where all our preparation pays off. Safety comes first throughout this entire project—keep your PPE on and double-check that ladder before each climb.
Step 1: Access the Eaves by Removing Soffit and Fascia
Your first task is to create an entry point into the rafter bays.
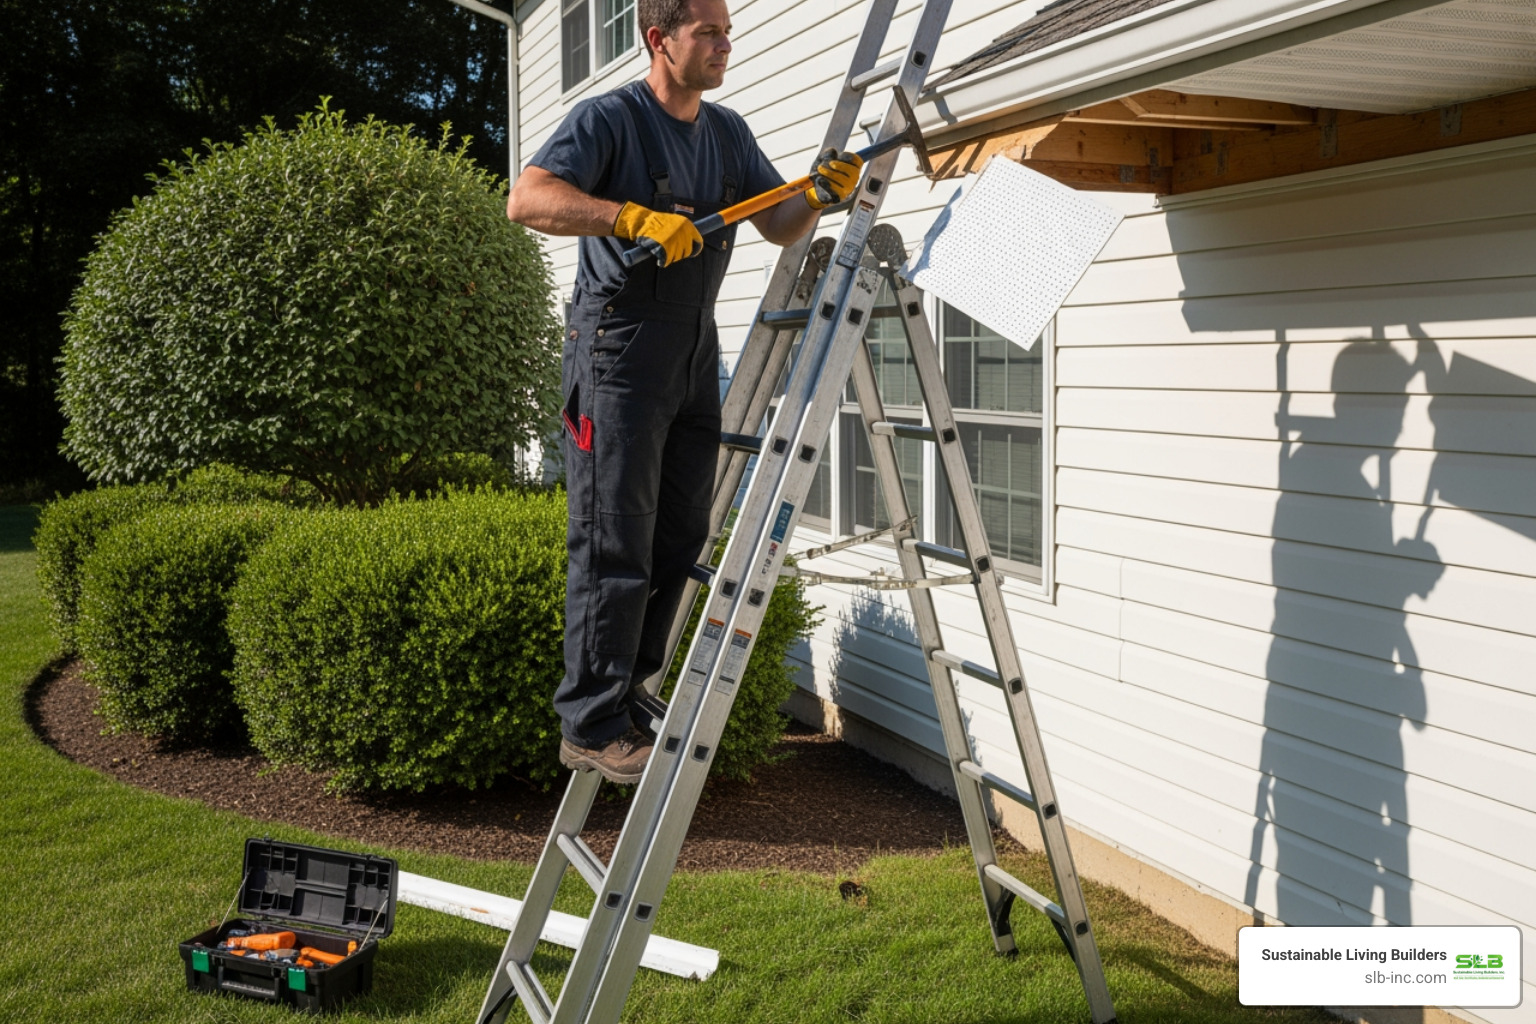
Position your extension ladder securely against the house near the soffit section where you’ll start. Ensure it’s stable and at the proper angle, as your safety depends on it.
Using your pry bar, carefully loosen the soffit panels beneath the rafter bays. These are often held by small nails or fasteners, so work slowly to preserve the panels for reinstallation. Patience here saves money and frustration.
Once the soffit panels are down, you may need to remove the fascia board covering the rafter ends. This provides the clear opening needed to slide baffles into place. Use steady, controlled pressure with your pry bar. If you have gutters, be careful not to damage them; use tape or padding for protection if needed.
Step 2: Clear Insulation and Prepare the Rafter Bay
With exterior access open, prepare each rafter bay for its new baffle. This step is critical for success.
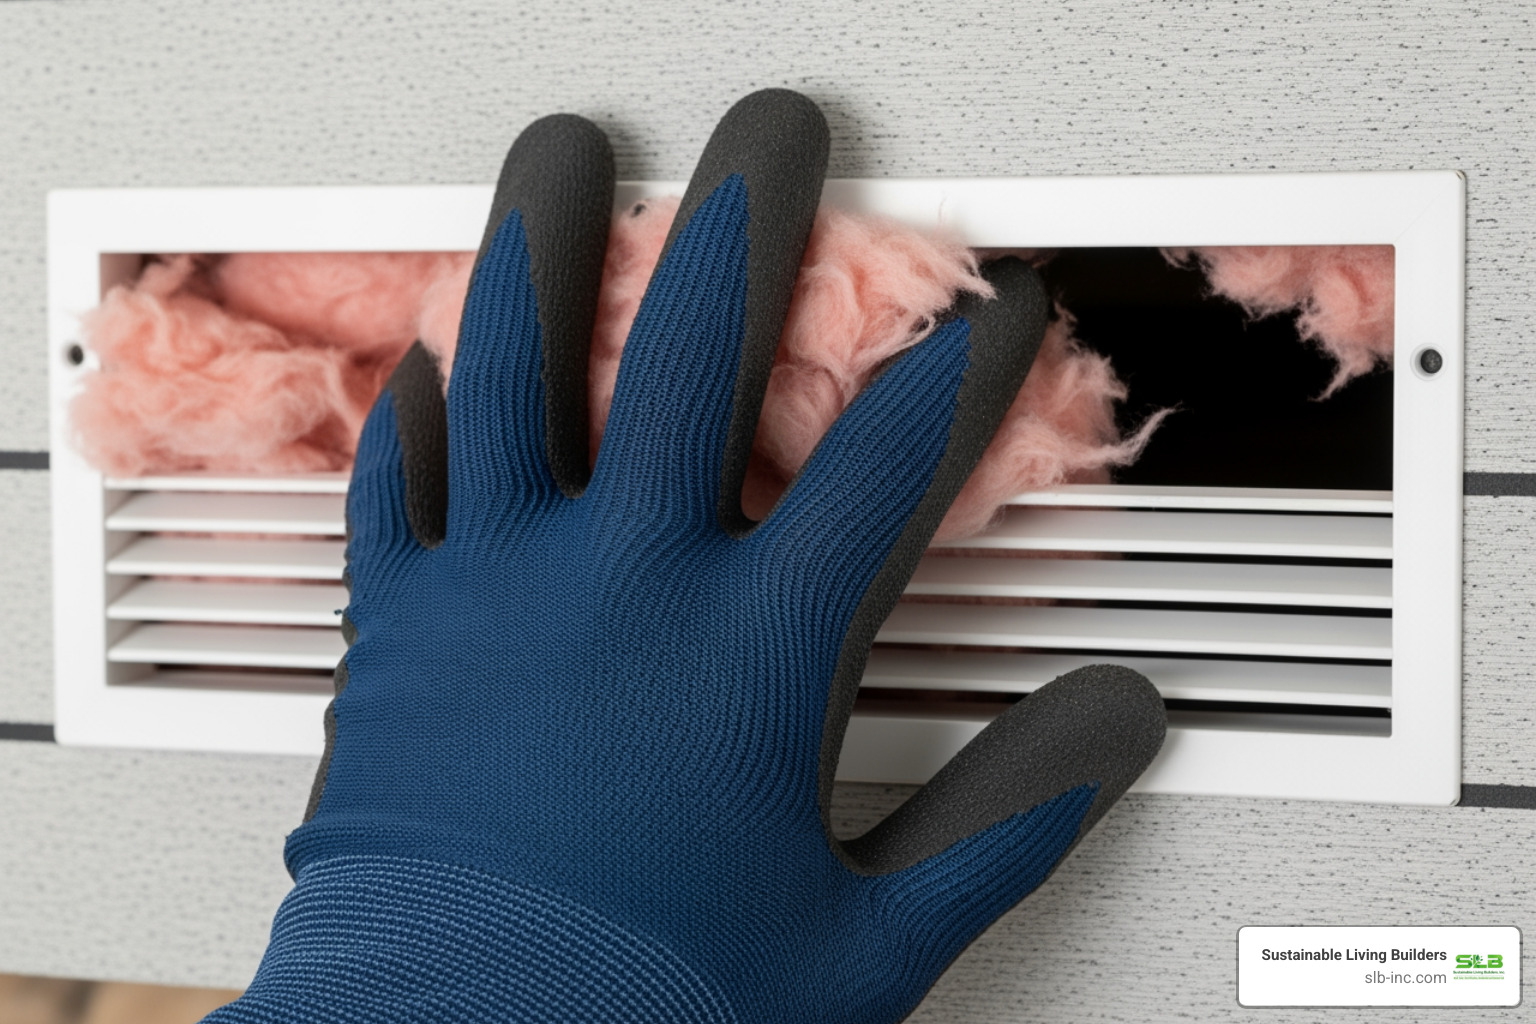
Look up into the opening. The space between any two rafters is your target rafter bay.
Reach into the rafter bay and carefully pull out any insulation blocking the soffit vent opening or extending into the overhang. Blown-in insulation often drifts and packs itself into this space, blocking airflow.
Even with batt insulation, pull it back from the edge of the top plate to create a clear path from the soffit opening into the attic. This thorough clearing is what makes installing attic baffles from outside so effective, as it ensures nothing blocks the airflow channel.
A properly cleared rafter bay ensures your baffle will function as intended, protecting your home from moisture.
Step 3: Position and Secure the Baffle
This step is the heart of installing attic baffles from outside.
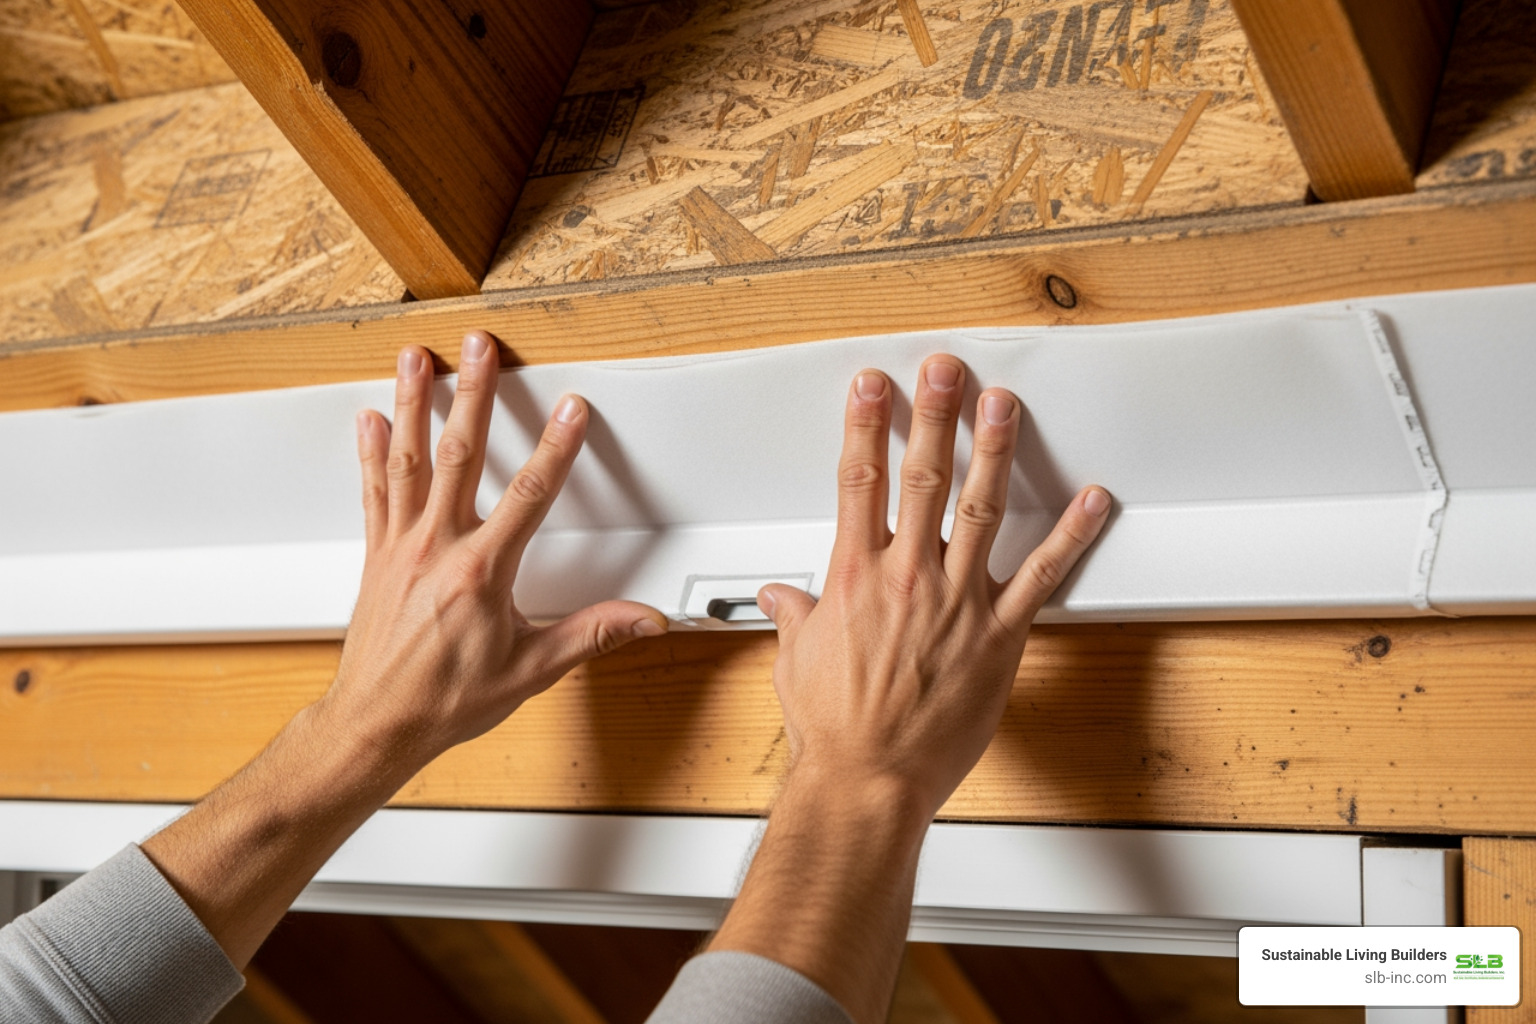
Take a baffle (most are 4-foot lengths) and slide it into the cleared rafter bay from the exterior opening. It should fit snugly between the rafters. Push it firmly upward so it extends from the top plate of the exterior wall up along the roof decking.
As you position the baffle, ensure it creates at least a one-inch air gap between the roof decking and the insulation. This gap is the crucial channel for air to flow freely.
Once positioned, use your staple gun to secure the baffle. Staple the edges to the rafters and add a few staples to the roof decking. The goal is a rigid, stable channel that won’t shift or sag. Tug it gently to confirm it’s secure.
Repeat this process for each rafter bay needing ventilation. Work your way around the perimeter of your home, creating protected airflow channels one bay at a time.
Step 4: Reassemble Your Soffit
With the baffles installed, it’s time to reassemble your home’s exterior.
Start by carefully reattaching the fascia board. Line it up with the rafter ends, ensure it sits flush, and secure it with nails. The fascia provides structural support and protection.
Next, reinstall the soffit panels. If removed carefully, they should fit back easily. Ensure they are aligned and seated securely to protect the eaves and allow airflow.
Finally, perform a final inspection. Walk the exterior and check that all components are securely reattached, with no gaps or loose pieces. Your home should look as it did before, but now with a properly functioning ventilation system.
You’ve completed a significant home improvement project that will pay dividends in energy efficiency, moisture control, and structural protection.
Troubleshooting and Professional Considerations
While installing attic baffles from outside can be a satisfying DIY project, we need to be honest about when things get tricky. Some situations call for extra problem-solving skills, and others? Well, they’re best left to the pros.
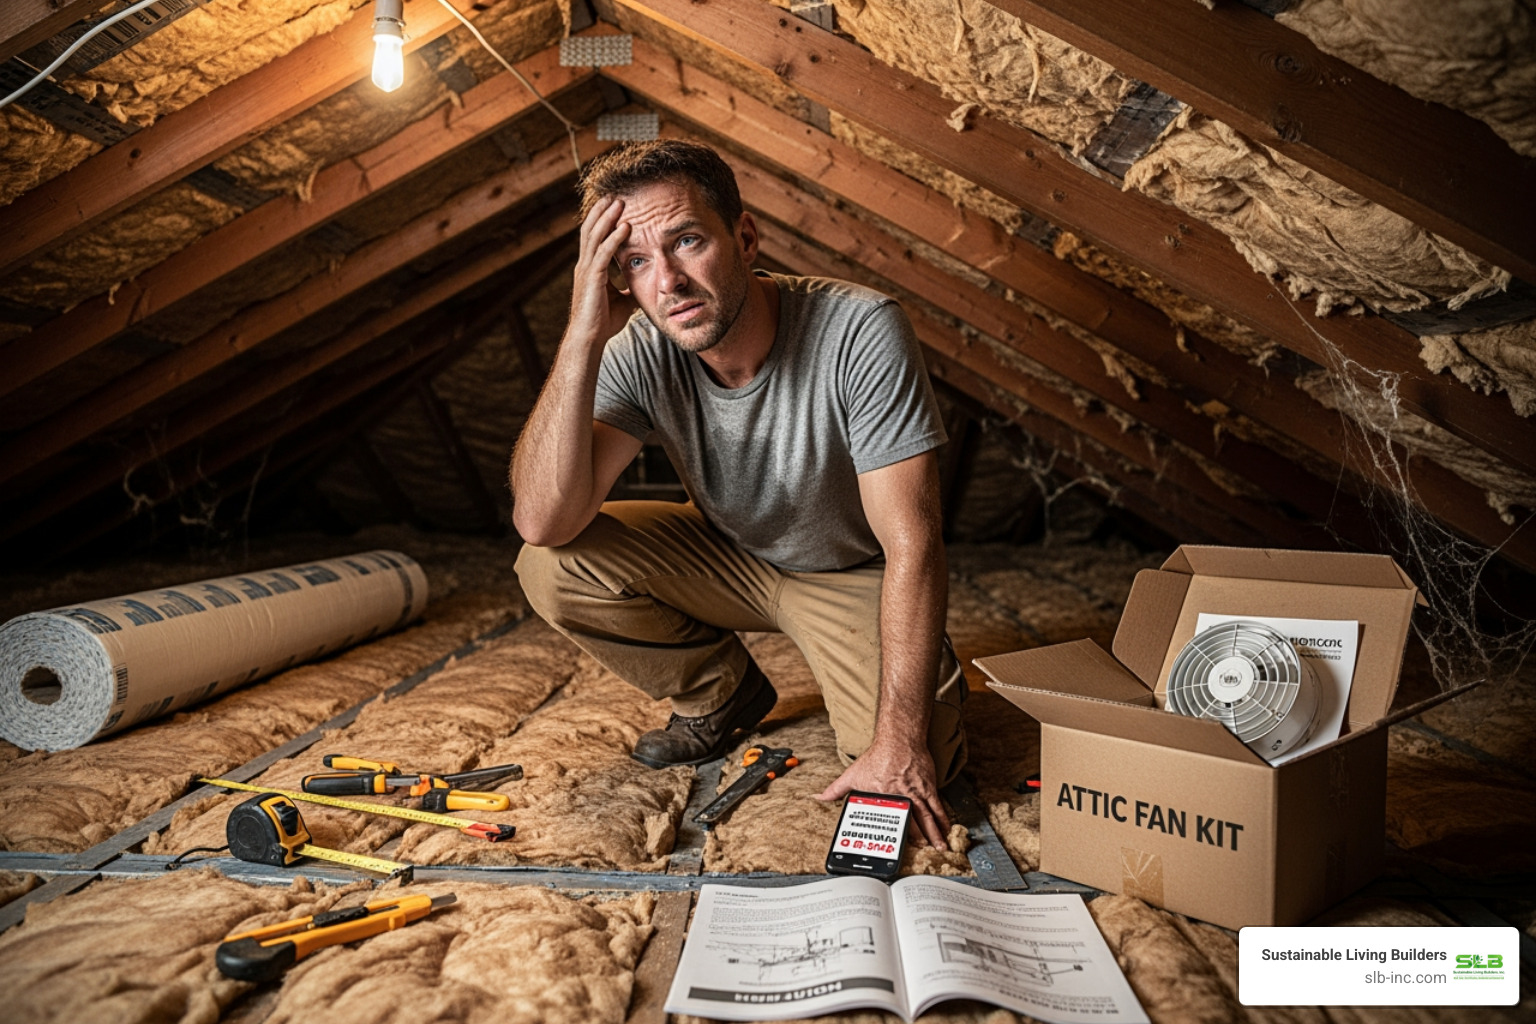
Low-pitch roofs present one of the biggest challenges when installing baffles. If your roof has a 3/12 or 5/12 pitch, the space near the eaves becomes incredibly tight—sometimes barely enough room to fit your hand, let alone maneuver tools and materials. This cramped environment makes it difficult to clear insulation properly, position baffles correctly, and secure them firmly to the roof decking.
Working in these confined spaces isn’t just uncomfortable; it can be genuinely hazardous. You’re more likely to encounter protruding roofing nails, breathe in concentrated insulation particles, and strain your back or shoulders. Some homeowners have found creative workarounds, like combining plastic vent chutes with custom-cut rigid foam insulation to create a baffle that slides into place more easily. But these solutions require patience and a good understanding of what you’re trying to achieve.
Rotted wood or structural damage is another situation that demands immediate attention. Before you even start removing soffit panels, take a close look at the visible wood around your eaves. If you spot soft, discolored, or crumbling wood during your initial inspection—or worse, once you’ve opened things up—stop the baffle installation immediately.
Rotted rafters, fascia boards, or roof decking compromise your home’s structural integrity. Installing baffles over damaged framing is like putting a bandage on a broken bone—it doesn’t address the real problem. These repairs need to happen first, and they often require professional carpentry skills. For guidance on identifying roof issues early, check out 4 Common Residential Roofing Problems and How to Fix Them.
Non-standard framing can throw a wrench in even the best-laid plans. Many older homes in Sonoma and Marin Counties were built before modern building codes standardized rafter spacing. You might find rafters at 19 inches on center, or varying distances throughout the same roof. Custom homes sometimes feature unique architectural elements that create irregular framing patterns.
Standard baffles simply won’t fit these spaces properly. Gaps along the edges allow insulation to push through and block airflow, defeating the entire purpose. In these situations, you’ll need to fabricate custom baffles from rigid foam insulation or even plywood, cutting them to fit each individual bay. This requires additional tools, materials, and carpentry experience.
There comes a point where calling in professional help isn’t admitting defeat—it’s making a smart decision. Complex attic structures with unusual framing, cathedral ceilings, or multiple roof lines can be genuinely challenging to ventilate properly. Professionals have encountered these situations countless times and know exactly how to create effective airflow channels.
If you find significant existing damage beyond a simple repair, professionals can assess the full extent of the problem and coordinate the necessary fixes. They’ll ensure that structural repairs are completed before ventilation improvements begin.
Safety concerns should always be your top priority. If you’re uncomfortable working on a ladder, especially for extended periods, don’t push through that discomfort. Attics can harbor hidden hazards like exposed electrical wiring, sharp metal flashing, weak spots in the roof decking, and poor air quality from old insulation or mold. If you feel unsafe at any point during the project, step back and reassess.
Finally, professionals understand local building codes specific to Santa Rosa, Sebastopol, and the wider Sonoma, Marin, and Napa Counties. They know the required ventilation ratios, proper installation techniques, and inspection requirements. This expertise ensures your ventilation system not only works effectively but also meets all regulatory standards.
If you’re leaning toward hiring help, our guide on Hiring the Right Roofing Contractor walks you through what to look for and what questions to ask. Sometimes the most valuable DIY skill is knowing when to call in the experts.
Frequently Asked Questions about Exterior Baffle Installation
We’ve helped countless homeowners in Santa Rosa, Sebastopol, and throughout Sonoma and Marin Counties improve their attic ventilation, and certain questions about installing attic baffles from outside come up time and again. Let’s address the most common ones:
How far up the roof deck should attic baffles extend?
It depends on your insulation depth. Standard 4-foot baffles work for most homes. The goal is to ensure the baffle extends far enough up the roof deck so that insulation cannot block the airflow channel. It must create a clear, continuous path from the soffit vent, over the top plate, and up toward the exhaust vents.
The critical part is maintaining at least a 1-inch air gap between the insulation and the roof decking. As long as the baffle extends beyond the top of your insulation, it will work. For homes with deep insulation (12-16 inches or more), you may need to ensure the baffles reach higher to preserve the airflow path.
Do I need baffles if I don’t have soffit vents?
No. Baffles without soffit vents are ineffective. They are designed to create channels for air entering through soffit vents. Without an intake source, installing attic baffles from outside will not create airflow.
A proper attic ventilation system requires both intake vents (like soffits) and exhaust vents (like ridge vents). Together, they create a balanced system where cool air enters, travels through the attic, and exits, removing heat and moisture.
If your home lacks soffit vents, we recommend installing them first. This ensures you are building a complete, functional ventilation system that will deliver the desired moisture control and energy efficiency benefits.
Should I use spray foam to seal the baffles?
The short answer is no, you shouldn’t seal the baffles themselves with spray foam.
Baffles are insulation blockers, not an air barrier. Their purpose is to keep insulation from clogging soffit vents and blocking airflow. The main air barrier is your ceiling and attic floor.
You should use spray foam to air seal the top plate of your exterior walls and around penetrations in your ceiling (wiring, pipes, lights, ductwork). Sealing these spots prevents conditioned air from escaping into the attic and improves energy efficiency.
A small bead of spray foam can be used at the bottom of the baffle where it meets the top plate to hold it in place and block loose insulation. However, coating the entire baffle is unnecessary and counterproductive.
Focus air sealing efforts on the ceiling plane and top plates. Let the baffles act as a physical barrier to maintain the airflow channel. This approach provides moisture control and energy performance without wasting materials.
Conclusion
Improving your home with your own hands is satisfying, especially when it protects your investment and saves energy. Installing attic baffles from outside is a foundational DIY project that makes a real difference, one you’ll appreciate with lower energy bills and fewer costly repairs.
This guide has walked you through why baffles are crucial for your attic’s health and the hands-on steps to install them. We’ve also covered potential challenges and when to call for professional help.
For homeowners in Santa Rosa, Sebastopol, and throughout Sonoma, Marin, and Napa Counties, proper attic ventilation protects your home from moisture damage, prevents ice dams, and creates an energy-efficient living space. These benefits align with the philosophy that Sustainable Living Starts at Home.
If you’ve tackled this project, congratulations on taking an important step toward better home performance. If you’ve realized your home needs a more comprehensive approach—addressing insulation, air sealing, or overall ventilation strategy—professional expertise is invaluable.
At Sustainable Living Builders, we understand every home is unique. Our team specializes in holistic solutions that address your home’s energy performance from every angle. For a comprehensive approach, explore our professional Insulations services. We’re here to help you create a comfortable, efficient, and lasting home.
