Why Galvanized Gutters Need Special Attention Before Painting
Painting galvanized gutters isn’t as simple as applying a coat of exterior paint. The zinc coating that protects gutters from rust also creates a slippery surface that paint struggles to grip. Combined with the factory oil that prevents “white rust” during shipping, you have a recipe for peeling, chipping paint within months if the surface isn’t prepared correctly. Many homeowners find this after watching their freshly painted gutters start flaking.
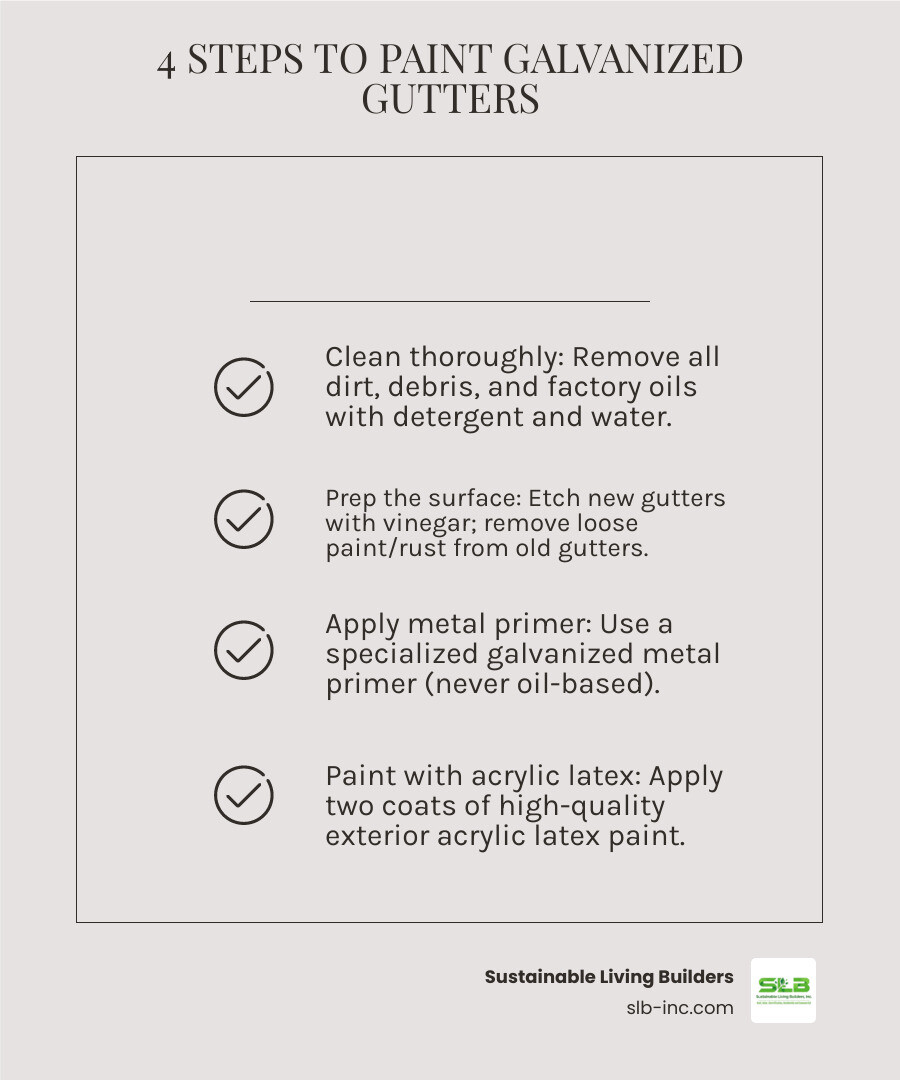
Quick Answer: How to Paint Galvanized Gutters
- Clean thoroughly – Remove all dirt, debris, and factory oils with detergent and water
- Prep the surface – Wipe new gutters with white vinegar; remove loose paint and rust from old gutters
- Apply metal primer – Use a specialized galvanized metal primer (never oil-based)
- Paint with acrylic latex – Apply 2 coats of high-quality exterior acrylic latex paint
The good news is that with the right steps, painted galvanized gutters can look great and last for years. The key is understanding why the zinc coating makes painting tricky and working with it, not against it. Whether your gutters are new or old, proper preparation is the difference between a paint job that lasts and one that fails.
If you’re considering a broader home improvement project, learn about comprehensive sustainable building solutions or schedule a consultation to discuss your gutter and exterior needs.

Why Painting Galvanized Gutters Requires Special Care
The zinc coating on your galvanized gutters protects the steel from rust, but its smooth, chemically resistant surface makes painting galvanized gutters tricky. Without proper preparation, paint will peel, chip, and flake away within months.
New gutters present an extra challenge: an invisible layer of factory oil. This coating prevents “white rust” during shipping but creates a barrier that guarantees paint failure unless it’s completely removed. Rushing the preparation phase is why many paint jobs fail. However, by preparing correctly and using the right materials, you can achieve a beautiful, long-lasting finish.
Preparing New Galvanized Gutters

When working with new galvanized gutters, the invisible factory oil is your main enemy. You have two ways to handle it.
The “weathering method” involves installing the gutters and letting them sit for about six months. Sun, rain, and wind break down the oil and create a duller, more paint-receptive surface. However, most homeowners prefer not to wait.
The faster, more reliable approach is the “cleaning and etching method.”
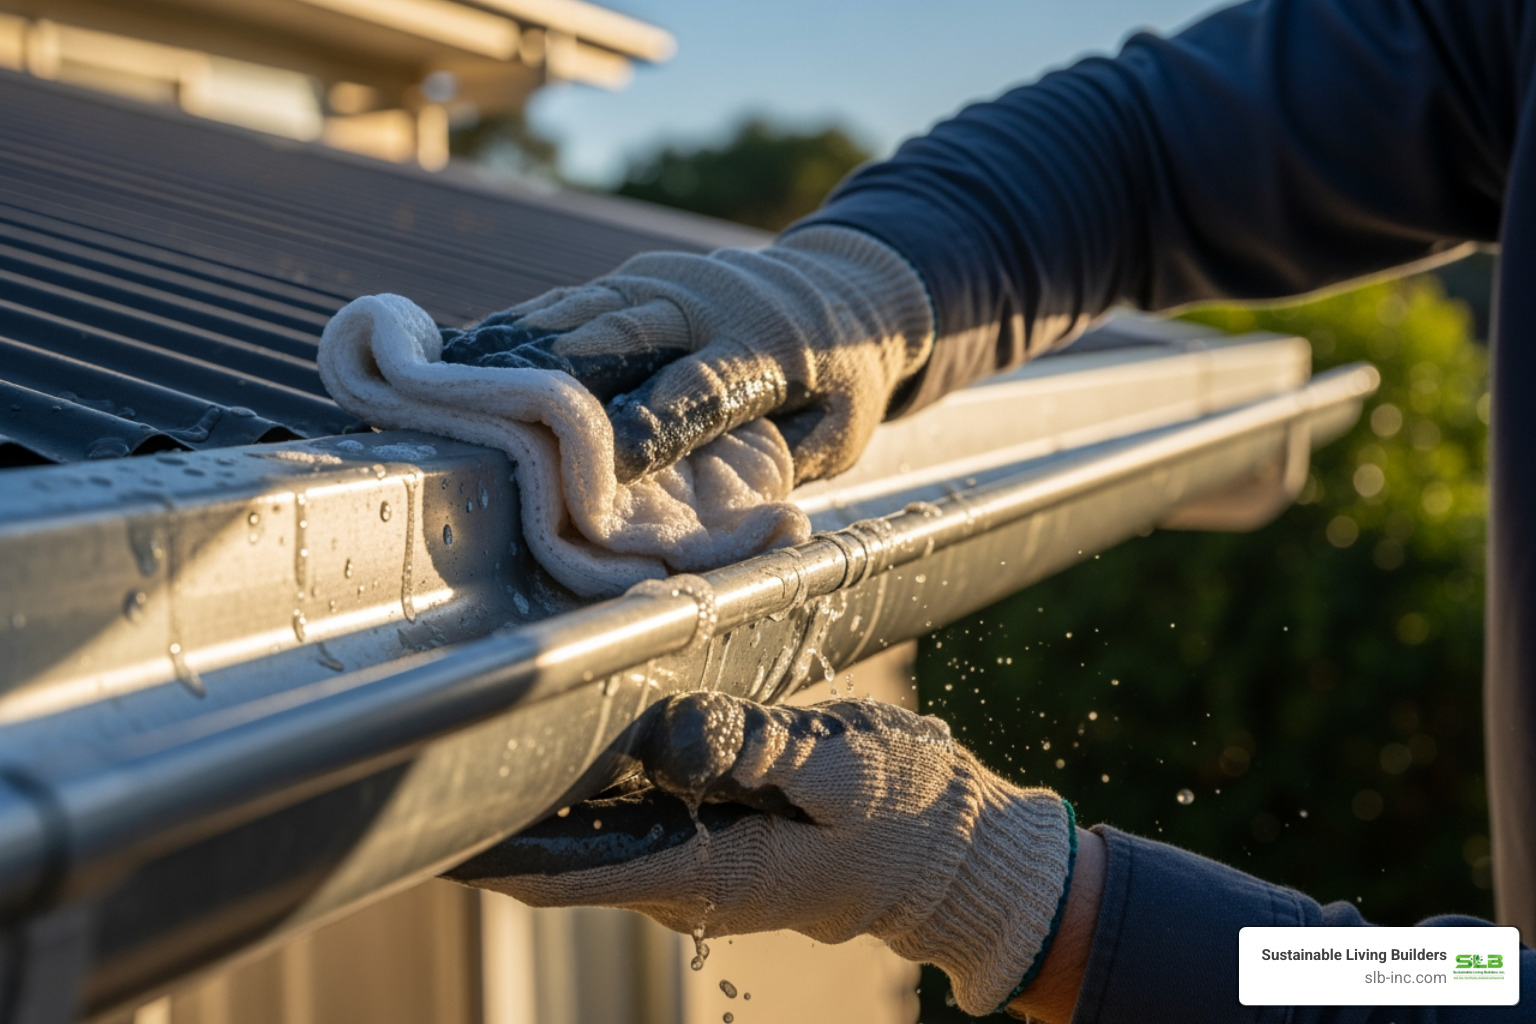
Start by washing the gutters with mild detergent and hot water to remove dirt and oil. Rinse completely and let them dry. This step is critical.
Once dry, wipe the entire surface with white vinegar. The mild acid dissolves any remaining oil and gently etches the zinc, creating microscopic roughness, or “tooth,” for the paint to grip. After the vinegar treatment, rinse thoroughly with fresh water to remove all acidic residue and let the gutters dry completely. This step is the key to a lasting paint job.
Preparing Old or Previously Painted Gutters
Older or previously painted gutters have different challenges, like peeling paint, rust, or grime. Your goal is to create a clean, stable surface for new paint.
Safety first: Ensure your ladder is stable and secure. Wear gloves and eye protection when using cleaning agents.
Start by clearing all debris from inside the gutters. Then, wash the entire system with hot water and mild detergent. For mold or mildew, use a diluted bleach solution, then rinse thoroughly and let dry.
Next, tackle any flaking paint. Use a paint scraper or wire brush to remove all loose material, being careful not to scratch the protective zinc coating underneath.
For rust spots, use a plastic scouring pad or fine-grit sandpaper to gently remove them. Wipe away any dust.
The final step is degreasing. Wipe down all surfaces with a solvent like ammonia or naphtha to ensure a perfectly clean surface ready for primer. Let everything dry thoroughly before moving on. Rushing preparation is the biggest mistake you can make.
The Step-by-Step Guide to Painting Galvanized Gutters
Now you can transform those clean, prepped gutters into beautiful features that improve your home’s exterior. With the right supplies and patience, this is a manageable DIY project.

Before starting, gather your materials: a specialized metal primer, high-quality exterior paint, paintbrushes or rollers, cleaning cloths, painter’s tape, and drop cloths.
Choosing the Right Primer and Paint
Using the wrong products is a common mistake that leads to a peeling mess. The chemistry matters.
The primer is your secret weapon when painting galvanized gutters. You must use a product specifically for galvanized metal or an acrylic metal primer. These are formulated to bond with the zinc coating.
Crucially, never use oil-based or alkyd primers on galvanized steel. A chemical reaction with the zinc causes bubbling and peeling within months.
Direct-to-Metal (DTM) paint, which combines primer and paint, is another option, but always verify it’s compatible with galvanized surfaces.
For the topcoat, 100% acrylic latex exterior paint is best. It’s flexible enough for temperature changes, like those in Sonoma County, and provides durable protection. A pro tip: use primer and paint from the same manufacturer for maximum compatibility.
The Application Process for Painting Galvanized Gutters
With your products ready, let’s begin. Always read the manufacturer’s instructions for guidance on temperature, humidity, and drying times. Most products work best between 50°F and 85°F in low humidity.
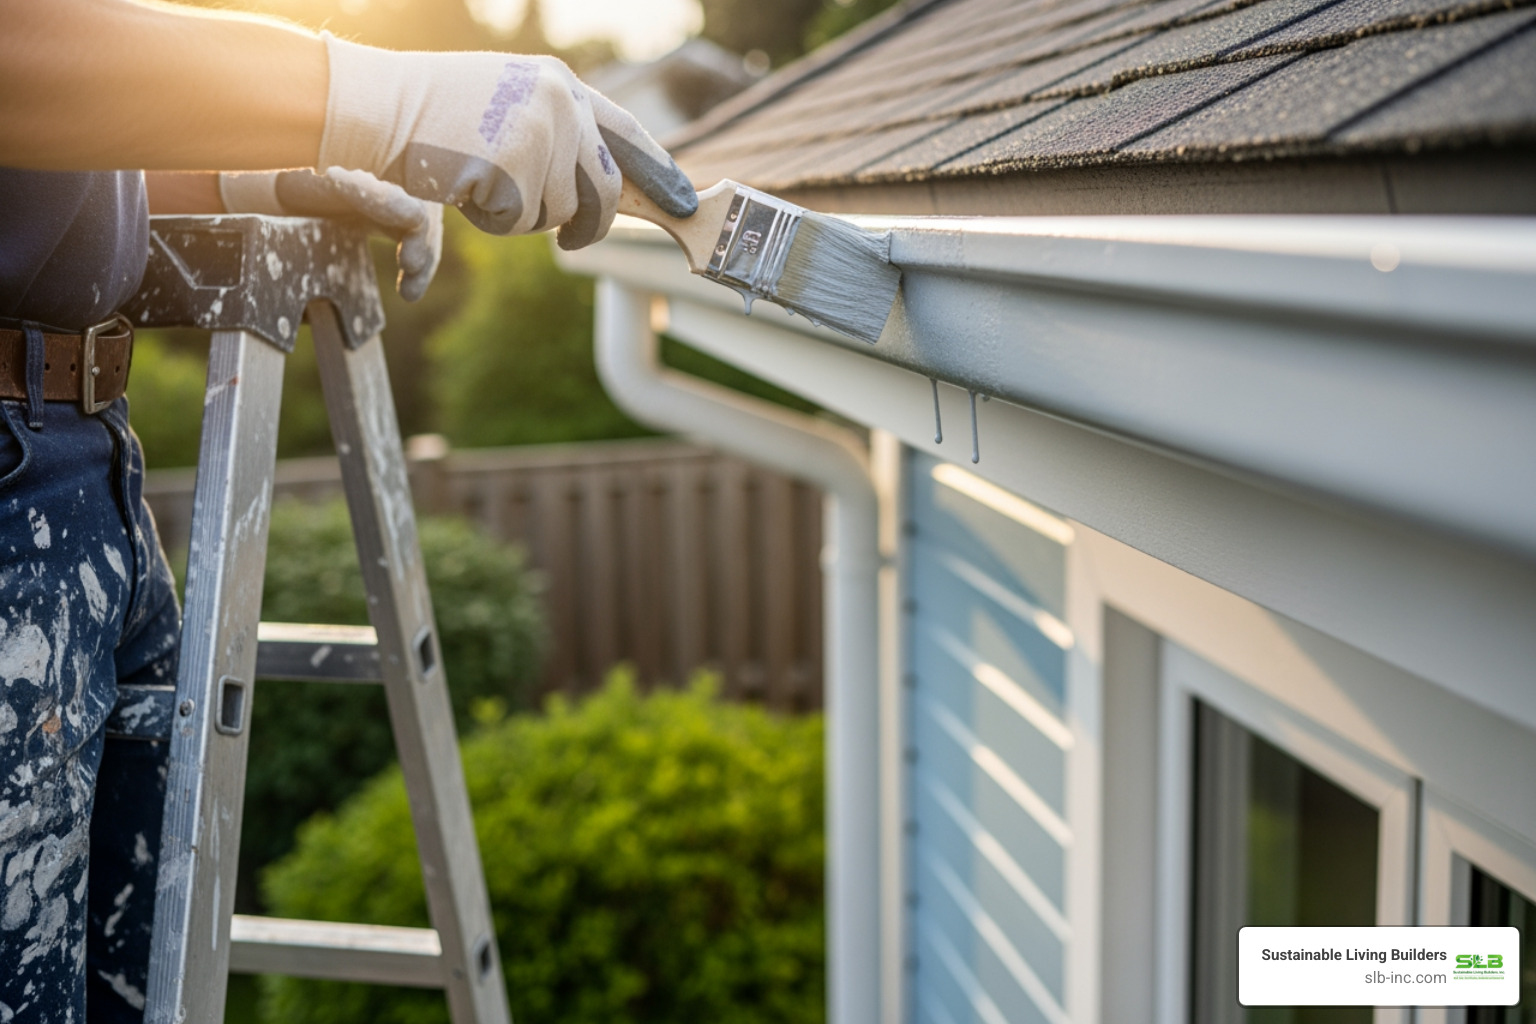
Apply your primer first in a thin, even coat. Use a brush for details and a small roller for flat areas. A paint sprayer gives a smooth finish but requires extensive masking to prevent overspray. Multiple thin coats are always better than one thick coat.
Wait for the primer to dry completely, which can take 4-6 hours or overnight. The surface should not feel tacky. Allow extra time in cool or humid conditions.
Once the primer is dry, apply your first coat of paint using the same thin, even technique. Work in manageable sections, maintaining a “wet edge” to avoid lap marks.
Let the first coat dry (typically 4-6 hours), then inspect your work. It’s normal for some of the original color to show through.
The second coat is where the magic happens. It deepens the color, evens the finish, and adds durability. Apply it just as carefully as the first.

Remember the difference between dry time and cure time. Paint may feel dry in hours, but full curing for maximum hardness can take two to four weeks. Be gentle with the gutters during this period. For a professional finish, work in mild weather, avoid direct sun, and never rush drying times.
Common Mistakes and Pro Tips for Longevity
Most mistakes when painting galvanized gutters are preventable once you know what to watch for. Understanding these common pitfalls can mean the difference between a paint job that lasts a decade and one that fails quickly.
Mistakes to Avoid When Painting Galvanized Gutters
After years of working with homeowners throughout Santa Rosa, we’ve seen these mistakes repeatedly. Here are the most common ones to avoid:
- Skipping Preparation: Gutters must be spotlessly clean and free of oil and dirt for paint to adhere. Thorough cleaning and degreasing are essential.
- Using Oil-Based Paint or Primer: These products react with the zinc coating, causing peeling. Always use acrylic-based products designed for metal.
- Not Using a Metal-Specific Primer: General-purpose primers won’t bond to zinc. A specialized galvanized metal primer is a must.
- Painting in Bad Weather: Extreme temperatures, high humidity, or rain will compromise the paint job. Wait for a dry, mild, calm day.
- Insufficient Drying Time: Rushing between coats traps moisture, leading to bubbling and peeling. Follow the manufacturer’s recommended drying times.
- Sanding New Galvanized Metal: Aggressive sanding can remove the protective zinc coating, leading to rust. Use chemical etching with vinegar instead.
- Painting Over Rust: Rust is active corrosion that will spread under new paint. It must be completely removed down to bare metal before priming.
Durability and When to Call a Professional
A quality paint job on galvanized gutters should last 5 to 10 years, depending on materials, preparation, and local climate. In Sonoma County, regular gutter maintenance like cleaning out debris is crucial to extend the paint’s life.
However, sometimes calling a professional is the better choice. Heavy rust or structural damage is a major red flag. If your gutters have dents, sags, or extensive rust, painting is not the solution. These issues may require repair or replacement.
Safety concerns are also paramount. Working on ladders, especially on two-story homes common in Marin County, can be dangerous. If you’re uncomfortable with heights, hire professionals who have the right equipment and insurance.
The project also requires time and expertise. If you lack either, a professional crew can ensure the job is done right the first time, saving you money on future repairs.
Also, consider that new, professionally installed gutters often have factory-applied finishes that last much longer than any paint job. For old or damaged gutters, replacement might be a smarter long-term investment.
For ongoing care, regular gutter cleaning makes a huge difference. You can find more helpful advice in our Gutter Maintenance Guide.
If you’re weighing whether to paint, repair, or replace your gutters, we’re here to help. Our team can provide expert guidance for your home in Santa Rosa, Sebastopol, or anywhere throughout Sonoma, Marin, and Napa Counties.
Frequently Asked Questions about Painting Galvanized Gutters
We hear these questions all the time from homeowners across Santa Rosa, Marin County, and Napa County. Let’s address the most common concerns:
Can I use a pressure washer to clean my galvanized gutters before painting?
While tempting for its speed, we advise against using a pressure washer. The high pressure can damage the protective zinc coating or force water into seams, leading to future paint failure. A gentler approach for your painting galvanized gutters project is better: use a garden hose, a soft brush, and the cleaning solutions mentioned earlier. This method cleans thoroughly without risking damage, ensuring a well-prepped surface.
Do I need to paint the inside of my galvanized gutters?
Generally, no. The inside of your gutters is constantly exposed to water and debris. Standard exterior paint will inevitably chip and flake in this environment, and these paint chips can contribute to clogs in your downspouts. Most exterior paints aren’t designed for prolonged water immersion. While specialized coatings exist for this purpose, leaving the interior unpainted is the best choice for most homes to avoid future maintenance headaches.
Can I use spray paint on my galvanized gutters?
Yes, spray paint can provide a smooth, factory-like finish. Use a galvanized metal spray primer and an exterior acrylic latex spray paint. However, proper preparation is just as crucial as with brush-on paint; the surface must be clean and degreased. When spraying, apply several thin, even coats to prevent drips. The main challenge is overspray. You must carefully mask your home’s siding, windows, and landscaping. Also, only spray on a calm, windless day. While great for touch-ups, painting an entire gutter system with spray cans requires significant patience and careful technique to achieve a professional result.
If you’re considering a complete exterior refresh beyond just the gutters, explore our comprehensive sustainable building services to see how we can help transform your entire home.
Conclusion
Painting galvanized gutters is a rewarding project when done correctly. The key takeaway is that proper preparation is everything. Thorough cleaning, proper surface prep, and using the right primer and paint will result in a durable finish that protects your gutters and improves your home’s curb appeal for years.
A fresh coat of paint adds an extra layer of protection, extending the lifespan of your gutter system. This is especially important for homes in Santa Rosa, Sebastopol, and across Sonoma, Marin, and Napa Counties, given the variable weather.
However, a DIY paint job isn’t always the best solution. For significant wear, structural damage, or if you’re simply not comfortable working at heights, calling a professional is the smarter choice. If you’re considering how your gutters fit into a larger plan for your home’s energy efficiency and sustainability, we can help.
At Sustainable Living Builders, we look at your home as a complete system. While painted gutters are a great start, they’re just one piece of creating a resilient and sustainable home. From energy-efficient roofing to smart home solutions, we’re here to help you build the home you’ve always wanted.
Explore how our sustainable building services can enhance your entire home, or reach out to discuss how we can help with your specific project. We’re ready to help you create a home that’s built to last.
